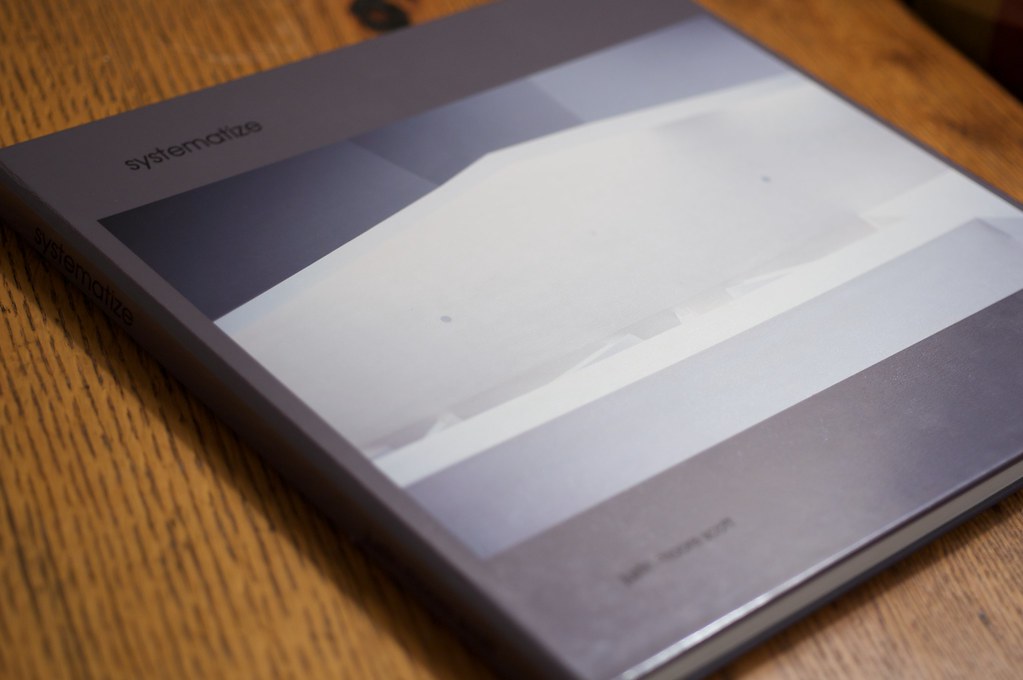
systematize, my first AdoramaPix photo book
Each semester I publish a new book featuring some of the highlights from my photographer that semester. In the past I’ve used Blurb to print my books and have had generally “ok” results. The last book I did with Blurb left a sour taste in my mouth. My images were too dark, over saturated and the overall fit and polish of the book was lacking.
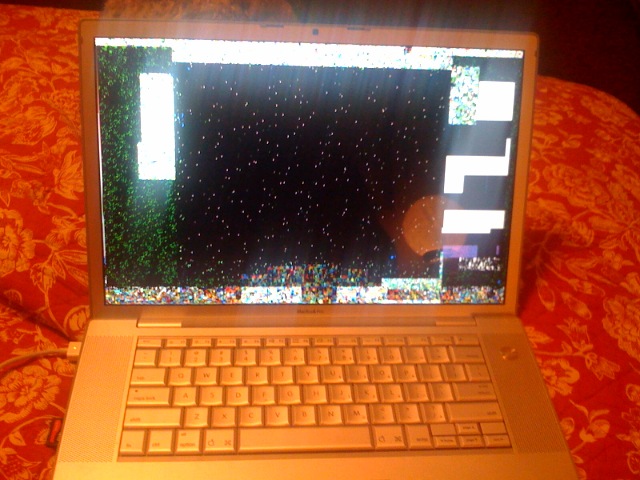
It was about this time, after tweeting and blogging the disappointment I was confronted by a representative from @AdoramaPix, ironically not Blurb, about the problem. They offered to reprint my book for me on their service. At the time I was busy traveling and murdering my poor MacBook Pro so I had to pass on the opportunity. I did, however, keep Adorama in the back of my head for the next time I did a photo book.
That time came around in November and with the generosity of Adorama I made my first of what will certainly be many photo books. As an experiment, I also made the usual Blurb book so I could do a side-by-side comparison of the process and result.
Building the Book

AdoramaPix web interface

Blurb's BookSmart application
The first user experience difference between Blurb and AdoramaPix is the application itself. While they share almost 100% of the same functionality, Blurb lives on your computer as an application, BookSmart, while AdoramaPix uses a web interface. I was at first skeptical of AdoramaPix’s choice of a cloud application, but then I used it.
While the Blurb application limits you to one computer to really build your book, the book is built into a single file you must export as a backup and import between computers, AdoramaPix’s web interface encourages you to edit your book from any computer, anywhere. Just upload your photos to their site and once they are up, build your book from whatever computer you choose.
Let’s get to the uploading process. It’s so much better that it really deserves its own section. First off, you can upload tiffs. That’s right, you are not limited to simple, compressed, 8bit JPEG files as you are with Blurb. Before you upload, and to ensure your colors are spot on, AdoramaPix provides you with the ICC profile for their paper. It’s a simple installation that allows you to tell Photoshop to convert your images for their colorspace. The importance of this was explained to me by an Adorama rep in this way, while my images in AdobeRGB 1998 have a huge and visually appealing colorspace, no printer and paper can reproduce it. By converting to their colorspace, I can be certain that my image will have the same colors, saturation and brightness when it is printed. It is important that you do “Convert” and not “Apply” when you change your colorspace. If you want more information on how to do this, lemme know in the comments. Uploading can be done through several options on their website. From a single image to a folder of dozens, it couldn’t be easier. If anything, there are too many options.
In short, you can upload much higher quality images even tiff files, you’re provided with the ICC profile of the paper and they provide several upload tools. They’ll even color-correct images that appear obviously “off”.
As far as the actual editing of the book, the responsiveness of the application is quite impressive (despite the aforementioned issues I had). While it takes several minutes to get used to the system, once I had my template built, the entire book was done in under an hour. It was no slower than Blurb, which is surprising considering it’s a cloud application. It isn’t as snappy as a desktop application but its portability more than makes up for that small hiccup. I’m sure future versions will improve responsiveness and add features.
There’s a help section with a bulletin board as well as live chat and email for any questions that come up during the production of your book. Oh and they are on Twitter, of course.
The Results
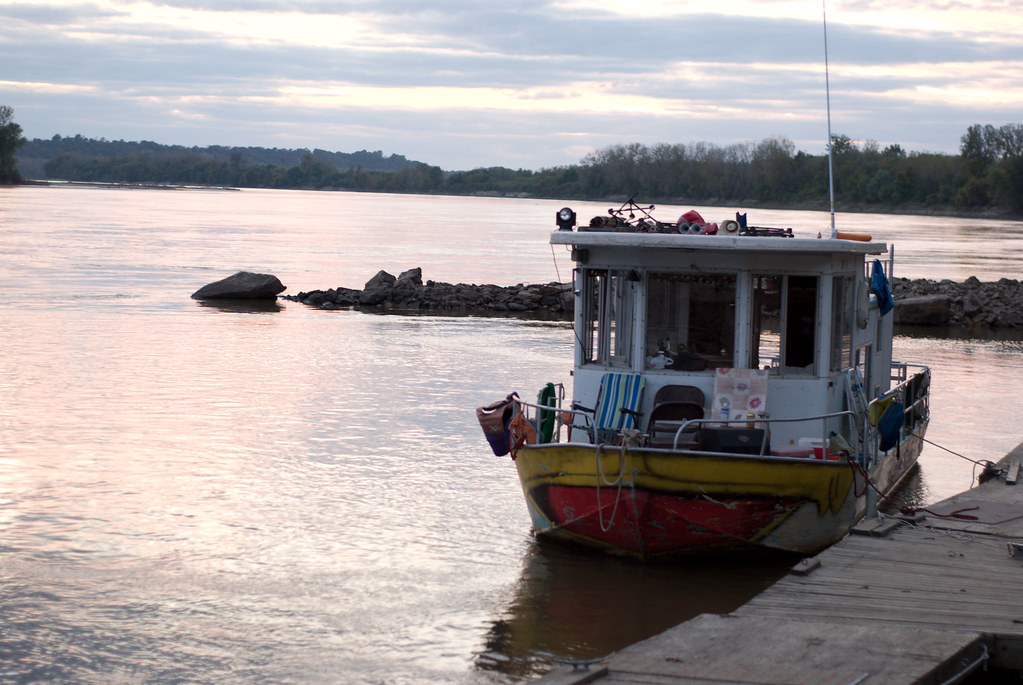
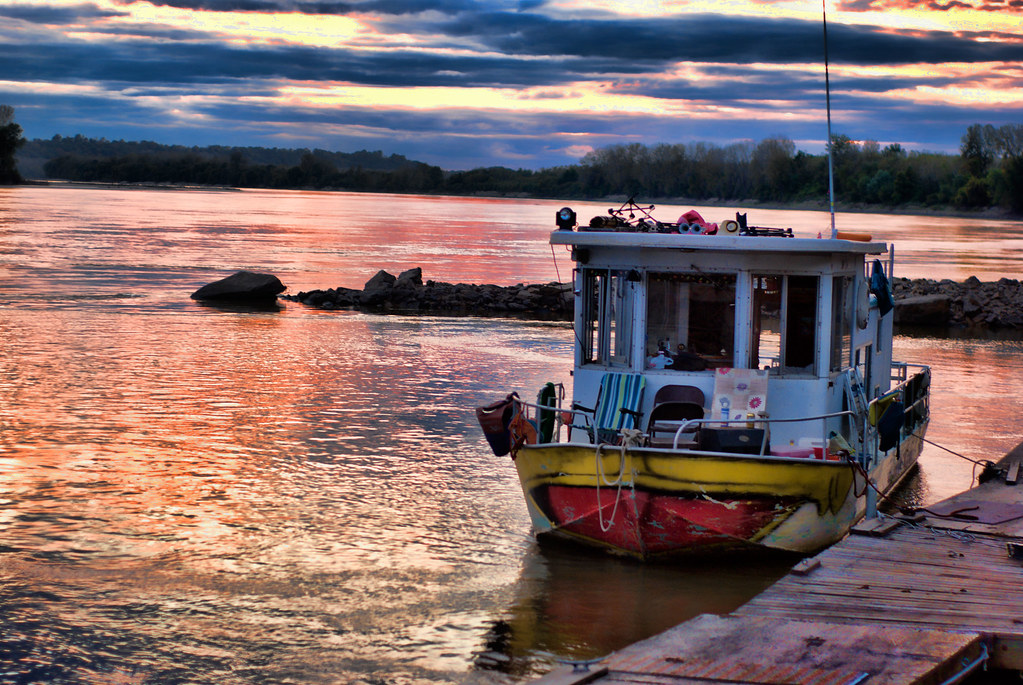
Upon unpacking my AdoramaPix a feeling of absolute amazement passed over me. Compared to my Blurb book, this book was three times thicker and much heavier. The “premium paper” of the Blurb books is thin, semi-matte and overall unimpressive. On the contrary, the Fuji Crystal Archive paper AdoramaPix uses is thick and lustrous. The colors are more dynamic, the contrast noticeably improved. I absolutely could not believe the quality.
The hard cover of the book is a water resistant, luster and the construction of the spine allows you to open the book and it actually lay flat. With most photo books, even professional ones, the pages tend to rise up from the spine, not so with this book.
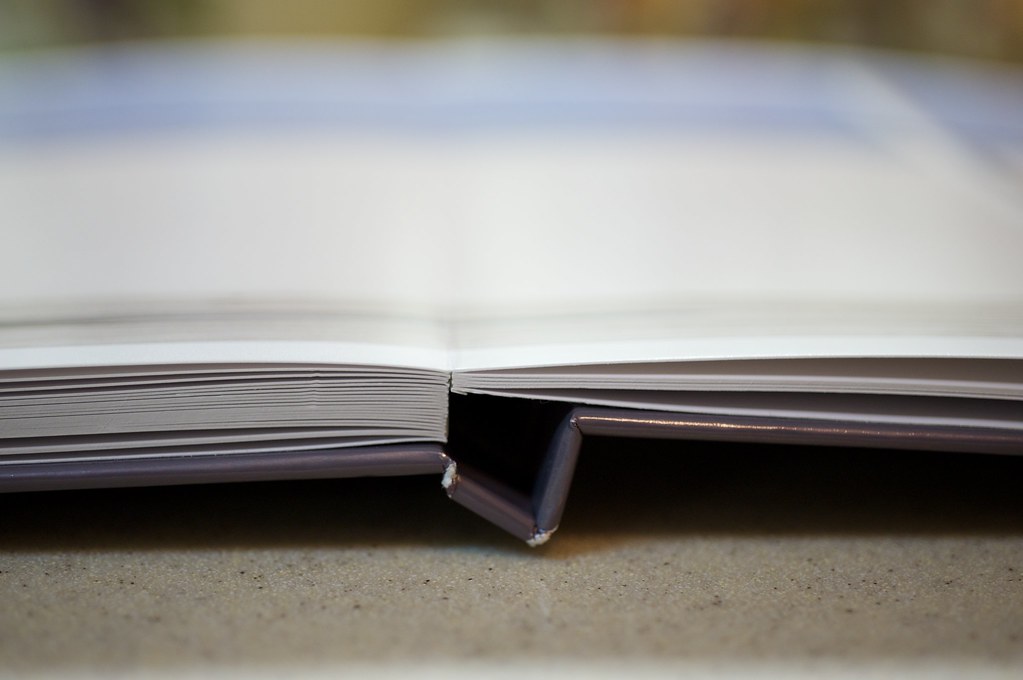
Lay-flat spine (ignore the scuffs, it's been handled heavily by dozens of people and has traveled around from Missouri to Texas to France to Saudi Arabia & beyond.
That makes images that bleed from one page to the next all the more impressive. You don’t lose any of the image in the center of the book.

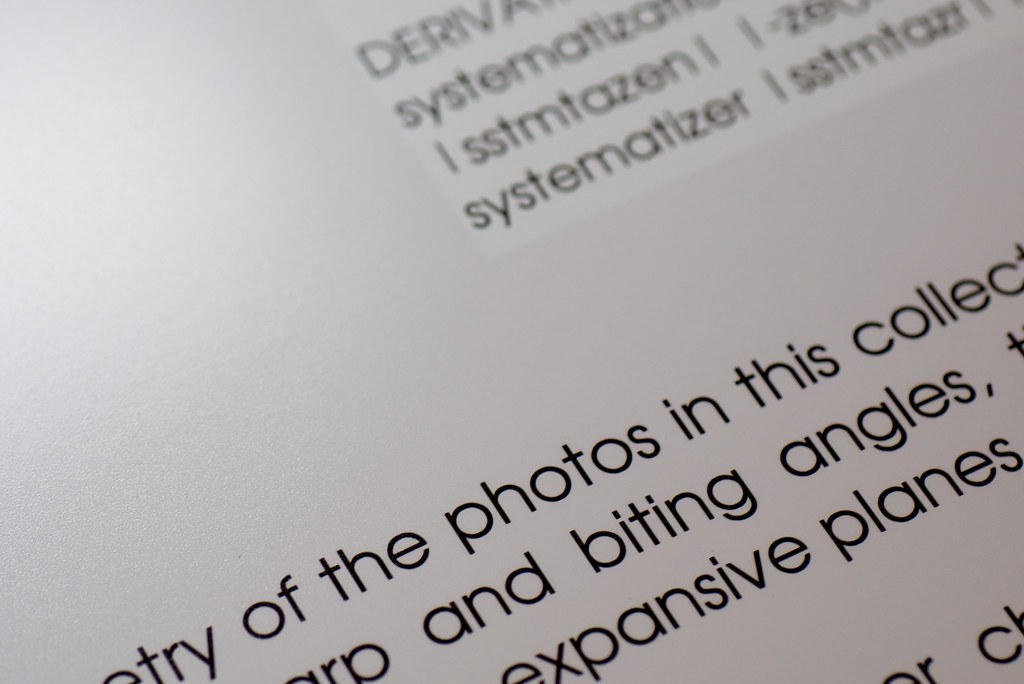
One downside to this luster paper is the glare it creates. While it is no where near the glare you get with glossy paper, at certain angles with certain light you may experience significant glare. However, the tradeoff is a super-rich image with sharpness and contrast nearly impossible by any less reflective surface.
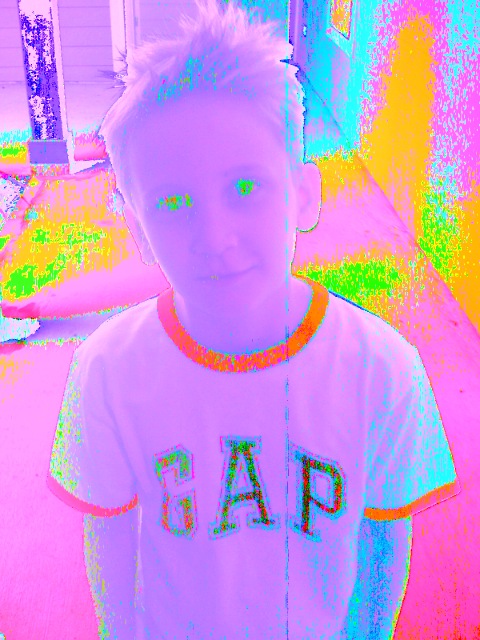
Despite converting to their colorspace and allowing them to pour over the images to fix color issues, I did find some of my photos ended up with a magenta tinge to them. You can see it in the image below. Each page’s white space had a tiny grey shade added to it to prevent “bleeding edges” of white images. However, as you can see below, what should have been a bright white wall became a bright, pink wall. That’s not good. If anything, the #FAF2F2 page color should be more pink, it’s a sort of grey-grey/pink color.
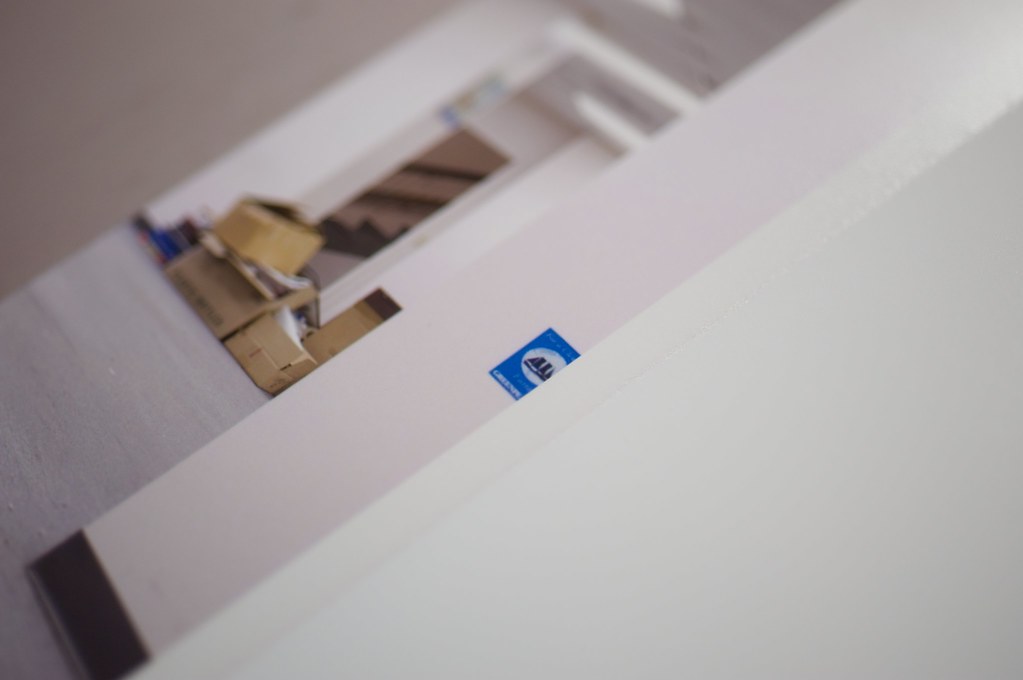
- The wall should be brighter, whiter than the paper
Even the grey background came out pink on some pages and the transparency of text boxes never was really reliable. Unfortunately for the title pages, this problem is painfully obvious.
Another bizarre color issue, again with the pink, came with an issue where an image set in photoshop to have a background color of #FAF2F2 to match the background of the book, became #F4F3F1.

Shipping was fast and the packaging made sure my book was safe from any damage during transit.
As far as pricing goes, this book costs around $120 (50 pages) to print from Adorama. That’s expensive, especially when you compare it to Blurb where the price would be around $75. However, with Blurb you have to pay more for hard cover, for image wrap on the cover, for “premium” paper (that kinda sucks) and even more to remove the Blurb logo from the book. Do all of this and you’re paying $105 without the even better quality of AdoramaPix. While these photobooks aren’t cheap, you’re getting more than what you paid for, when compared to Blurb especially.
I hope to reprint, again, with Aperture Books and perhaps another service to further compare quality and pricing.
Pros
- Ability to upload large, high quality images such as tiffs
- Web interface doesn’t limit book creation/editing to a single computer, always backed up online
- Slick book editor, didn’t crash, not even once
- Paper quality is the best I’ve seen, better than expensive professional photographer’s books
- Prints are rich, accurate and made to last for years to come
- Solid build and awesome customer service if you ever need it
Cons
- Web interface isn’t as responsive as Booksmart
- Some of the interface is clunky, changing backgrounds must be done separately for each page
- Limited font options
- A bit pricey, too expensive for most people to give away as gifts
- Some color issues, whites turned a bit magenta on some images
- AdoramaPix books stop at 50 pages, Blurbs goes to 160 pages
In the end, my next book will definitely be from AdoramaPix. Any of the problems with the prints in this book will be fixed for my next printing. Some of the problems were likely due to my oversight and others out of my control and mostly minor.
All of my classmates compared my AdoramaPix book to their and my Blurb books and it seemed unanimous, Blurb sucked compared to AdoramaPix. I’m certain that at least half of the class will print their next photo books through AdoramaPix.
![Reblog this post [with Zemanta]](http://img.zemanta.com/reblog_e.png?x-id=3ca1c0ec-bb6e-4a47-80eb-a3f5809083dd)


![Reblog this post [with Zemanta]](http://img.zemanta.com/reblog_e.png?x-id=f2c911a6-2fce-4bcc-a6a0-233a567118f0)